Ellesmere
Defrosting a freezer is one of those jobs that's easy to keep putting off — but ice build-up costs you storage space and pushes up your energy bills. Here's how to do it quickly, safely, and without the mess.
Do you actually need to defrost?
First — check whether your freezer needs manual defrosting at all. Frost Free models handle this automatically and don't require it. If yours isn't Frost Free, the rule of thumb is to defrost when ice build-up reaches around 5–6mm thick. Left longer than that, the ice starts insulating the walls, the motor works harder, and your energy use creeps up.
- Manual defrost freezers: defrost every 3–6 months, or when ice exceeds 5mm.
- Frost Free freezers: no manual defrosting needed, but a yearly clean-out is worthwhile.
- High-use freezers: if you're opening the door frequently, ice can build up faster — check every 2–3 months.
Not sure if you have a Frost Free model? Check the product label or manual — it will be clearly stated. Most fridge freezers bought in the last decade are Frost Free; standalone chest freezers and older uprights often aren't.
How long will it take?
1–2 hrs
Small freezer with minimal ice build-up
4–6 hrs
Larger freezer or significant ice build-up
Up to 24 hrs
Large or heavily neglected freezer
The tips below will help you get to the lower end of these times for most household freezers.
Step-by-step guide
Preparation
- Gather what you need: old towels or sheets to catch meltwater, a cooler or insulated bags for your food, a plastic scraper or spatula, and warm soapy water with a splash of white vinegar for cleaning.
- Empty the freezer: move frozen food into a cooler with ice packs. Group similar items together — it makes restocking much faster. Use this as an opportunity to check dates and throw out anything past its best.
- Switch off and unplug: always unplug before you start. If it's a combined fridge freezer, check the manufacturer's instructions — on some models you can switch off just the freezer compartment.
Defrosting
- Lay down towels: place them around the base of the freezer and inside the bottom to catch dripping water as the ice melts. Have extra on hand for swapping out.
- Speed up the process: place heatproof bowls of freshly boiled water inside the freezer and close the door — the steam does most of the work. Replace the water every 15–20 minutes as it cools. A fan blowing into an open chest freezer also speeds things up significantly.
- Remove loose ice: as large sections begin to detach, remove them carefully with a plastic scraper. Work gently — forcing ice off can damage the freezer lining.
- Wipe down the interior: once the ice is gone, clean the walls, shelves, and drawer compartments with warm soapy water. A splash of white vinegar neutralises odours and tackles any stubborn residue.
Finishing up
- Dry thoroughly: wipe every surface completely dry before switching back on — any remaining moisture will just freeze immediately and start the cycle again.
- Plug back in and wait: allow the freezer to reach -18°C before restocking. This usually takes 30–60 minutes. Check the temperature display or use a freezer thermometer if you're unsure.
- Restock sensibly: put most-used items at the front, and avoid overfilling — good airflow inside the freezer helps it run efficiently and slows future ice build-up.
Avoid: using sharp metal tools to chip ice — this can puncture the freezer lining and cause irreparable damage. Plastic scrapers only. Also avoid using a hairdryer near pooled water — if you do use one, keep it well away from any moisture and never let it rest inside the freezer.
How to reduce ice build-up in future
Check the door seal
A worn or damaged seal lets warm, moist air in — the leading cause of rapid ice build-up. Run a finger around the seal and look for gaps or tears.
Don't overfill
Overpacking restricts airflow, which causes uneven temperatures and contributes to ice formation. Leave some breathing room.
Cool food before freezing
Putting warm or hot food straight in the freezer introduces moisture that freezes onto the walls. Let food cool to room temperature first.
Don't leave the door open
Every second the door is open, warm air rushes in. Get in the habit of deciding what you want before opening — especially with chest freezers.
Still struggling with excessive ice build-up despite regular defrosting? It could be a failing door seal or a thermostat issue. If your freezer is more than 10 years old and having repeated problems, it may be worth considering a replacement. Read our guide on when to upgrade your appliances — or browse our range of freezers and fridge freezers.
Browse our full range of Frost Free freezers and fridge freezers — no defrosting required.
Shop freezers →How to Defrost a Freezer Quickly – Easy Step-by-Step Guide
When was the last time you defrosted your freezer? If the answer is, "I can’t even remember," you’re not alone. Defrosting a freezer often gets pushed to the bottom of the to-do list, but it’s more important than you might think. Regular defrosting not only improves energy efficiency but also maximises storage space and prevents that pesky ice build-up that makes your freezer look like the Arctic.
A well-maintained freezer saves money on energy bills, keeps your food fresher for longer, and eliminates the frustration of trying to jam a bag of peas into a space crammed with ice. So, let’s make this chore as painless as possible with some practical tips and tricks.

How often should you defrost a freezer?
The frequency of defrosting depends on the type of freezer you have and how often you use it. Here are some general guidelines:
- Manual-defrost freezers: These should be defrosted when the ice build-up reaches about a quarter of an inch thick. This could be every three to six months, depending on usage.
- Frost-free freezers: These don’t require manual defrosting, but a yearly clean is still a good idea to keep things running smoothly.
- High-use freezers: If you’re constantly opening and closing the freezer, you might notice ice build-up more frequently, so defrosting every few months may be necessary.
Keeping an eye on the condition of your freezer will help you decide when it’s time for a defrost. If you notice reduced storage space or difficulty closing the door, it’s time to take action.
How long does it take to defrost a freezer?
Defrosting a freezer can take anywhere from a couple of hours to an entire day, depending on factors like the size of the freezer and the thickness of the ice build-up. Here’s a breakdown:
- Small freezers with minimal ice: 1-2 hours.
- Larger freezers or significant ice build-up: 4-6 hours.
- Commercial freezers or neglected units: Up to 24 hours.
The good news? With a few time-saving tips (more on those in a moment), you can speed up the process significantly and get back to your day.
How to defrost a freezer quickly
Want to defrost a freezer quickly without sacrificing safety? Try these tricks:
-
Use bowls of hot water: Place heatproof bowls or pans filled with hot water inside the freezer. The steam will help melt the ice faster. Just make sure to replace the water as it cools.
-
Use a fan: Set up a fan to blow warm air into the freezer (perfect for chest freezers). This helps circulate the air and speeds up melting.
-
Defrosting sprays: These are available in most hardware or appliance stores and can significantly reduce the time needed. Be sure to follow the instructions carefully.
-
Hairdryer method (with caution): If you’re in a pinch, a hairdryer can be used to direct warm air onto the ice. Keep the dryer at a safe distance to avoid damage to the freezer or risking an electrical hazard.
Remember: Avoid using sharp tools like knives to chip away at the ice—it’s not worth damaging your freezer or injuring yourself!
Step-by-step guide to defrosting your freezer
Ready to get started? Follow this simple guide for a stress-free defrosting experience.
Preparation
Gather supplies:
-
-
- Towels or old sheets to soak up melted ice.
- A cooler or insulated bags to store frozen food temporarily.
- Bowls or pans for hot water (optional).
- A plastic scraper or spatula.
- Cleaning materials: Warm soapy water, vinegar, or baking soda for cleaning.
- Empty the freezer: Transfer your frozen food to a cooler. Use ice packs to keep items cold during the process. Group similar items together to make restocking easier later.
- Unplug the freezer: Always turn off the power before defrosting. If your freezer is part of a fridge-freezer combo, check the manufacturer’s instructions for how to safely switch it off.
-
Execution
-
- Lay down towels: Place towels around the base of the freezer to catch dripping water. Have extra towels or sponges on hand for replacing or squeezing out excess water as it melts.
- Melt the ice: Choose a method to speed up melting:
- Place bowls of hot water inside the freezer and close the door. Replace the water every 15-20 minutes to maintain heat.
- Use a fan to circulate air into the freezer, especially if it’s a chest freezer.
- Spray a defrosting solution over the ice and let it work its magic.
- Remove loose ice: As the ice begins to loosen, gently remove large chunks using a plastic scraper or spatula. Avoid applying too much force, as this could damage the freezer lining.
- Clean the interior: Once all the ice is gone, wipe down the interior walls, shelves, and drawers with warm, soapy water. Add a splash of vinegar or baking soda to the mix to neutralise odours and tackle any stubborn stains.
- Inspect and maintain: Check the freezer’s seal and drainage (if applicable) to ensure they are in good working order. Address any issues to prevent future ice build-up.
Clean-Up and Finishing Touches
-
- Dry thoroughly: Use a clean, dry cloth to ensure every corner of the freezer is completely dry before turning it back on. This prevents immediate re-freezing and further ice formation.
- Reconnect and cool down: Plug the freezer back in and allow it to reach the optimal freezing temperature (typically -18°C) before restocking.
- Restock food: Return your food to the freezer in an organised manner, with commonly used items in easy-to-reach spots. Dispose of any expired or freezer-burned food during this process.
- Dispose of water properly: Empty the drip tray (if your freezer has one), wring out towels, and wash any cleaning supplies used.
Tips for reducing ice build-up in the future
- Check the door seal: A faulty seal lets warm air in, leading to condensation and ice.
- Don’t overfill: Overpacking restricts airflow, which can contribute to ice formation.
- Cool food before storing: Putting hot or warm items in the freezer creates moisture, which can freeze and add to ice build-up.
- Defrost regularly: Set a reminder every few months to prevent the problem from snowballing.
Conclusion
Defrosting a freezer might not be the most glamorous task, but it’s essential for keeping your appliance running efficiently and your food stored safely. By following these tips and tricks, you can defrost a freezer quickly and easily, saving time, energy, and money. Keep your freezer maintenance routine on track, and you’ll never have to deal with an icy mess again.
To find out if it is time for a new one, read our blog about when the right time to upgrade your appliance is by following the link bellow.


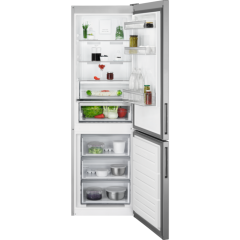
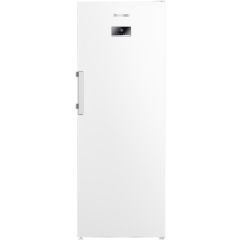
 10%
10%OFF


Retail price
Now
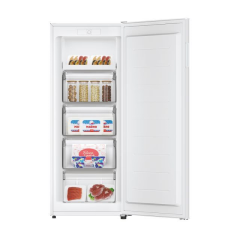
£439.99
Was
£489.99
Save
£50.00
In Stock, Available for Delivery


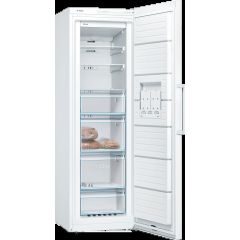
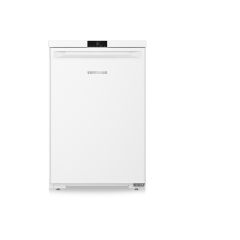 8%
8%OFF

Retail price
Now
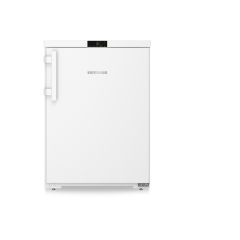
£359.99
Was
£389.99
Save
£30.00
In Stock, Available for Delivery
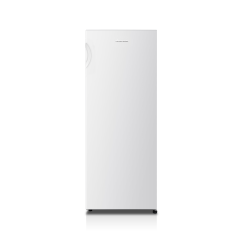


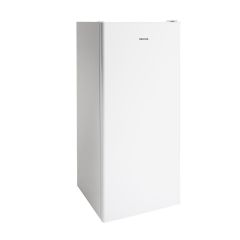
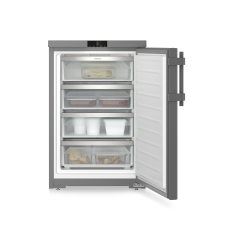
Retail price
£249.00
In Stock, Available for Delivery, End Of Line Product
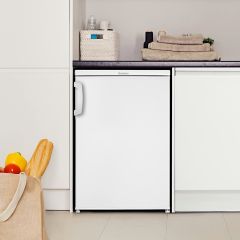


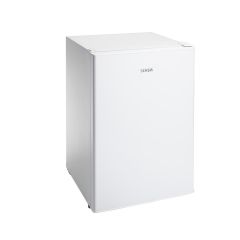
 6%
6%OFF
Retail price
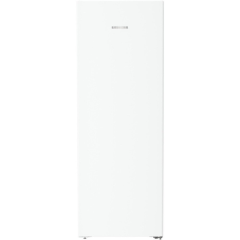
Now
£149.99
Was
£159.99
Save
£10.00
Available from 2nd July 2026


 7%
7%OFF


Retail price
Now
£399.00
Was
£429.00
Save
£30.00
Available from 4th July 2026